🎚️ Image Adjustment Tool
Adjust brightness, contrast, and saturation with real-time preview. All processing happens in your browser.
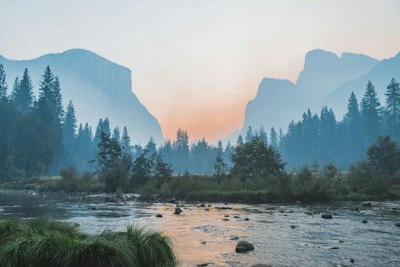
Image Adjustment: Adjust brightness, contrast, and saturation
Image Adjustment lets you adjust brightness, contrast, and saturation. Upload any image and get an adjusted image — all processed locally in your browser, with no uploads and no sign-up.
Fix underexposed dark photos
Fix underexposed dark photos. This is one of the most common reasons people reach for Image Adjustment — and it handles the job in seconds, entirely in your browser.
Boost faded colors
Boost faded colors. This is one of the most common reasons people reach for Image Adjustment — and it handles the job in seconds, entirely in your browser.
Create a balanced look for product shots
Create a balanced look for product shots. This is one of the most common reasons people reach for Image Adjustment — and it handles the job in seconds, entirely in your browser.
Everything You Need in a Image Adjustment
Powerful features that make Image Adjustment fast, private, and free.
Live Preview
See every adjustment instantly before you download.
Fine Controls
Adjust intensity, color, and position with precise sliders.
Non-Destructive
Your original image is never modified — download a new copy.
100% Private
All editing happens locally in your browser.
Free Forever
No sign-up, no watermarks, no limits.
Instant Results
Edits apply instantly — no rendering queue.
How to Use
Upload
Select an image from your device or try with a sample image.
Adjust
Use the sliders to adjust brightness, contrast, and saturation.
Download
Click Apply to process, then Download to save the result.
Detailed User Guide
Step 1: Upload Your Image
Click the dropzone or drag and drop an image file (JPG, PNG, or WebP). The original image will be displayed in the preview area, and you can start adjusting immediately.
Step 2: Adjust Brightness, Contrast & Saturation
Use the three sliders to fine-tune your image:
- Brightness (0%–200%) — Darken or brighten the image. 100% is the original brightness.
- Contrast (0%–200%) — Reduce or increase color contrast. 100% is the original contrast.
- Saturation (0%–300%) — Desaturate (grayscale at 0%) or boost colors. 100% is the original saturation.
Step 3: Apply & Download
Click "Apply Adjustments" to render the final result with all three adjustments combined, then click "Download" to save the adjusted image as a JPG file.
Best Use Cases
- Fix underexposed photos — Increase brightness to recover detail in dark images
- Make colors pop — Boost saturation for social media posts
- Fix washed-out images — Increase contrast to add depth
- Create B&W effects — Reduce saturation to 0% for grayscale
Pro Tips
- For portrait photos, avoid pushing brightness above 150% — skin tones can look unnatural
- Combine slight contrast boost (+20%) with slight saturation boost (+15%) for a quick "vibrant" look
- If the image looks too flat after reducing contrast, try increasing saturation slightly
- For printing, keep brightness at or below 110% to avoid washed-out prints
Recommended Tools for Image Projects
Check these useful supplies to print and create your edited images.
Glossy Photo Paper
High-quality photo paper for printing your edited pictures.
Canon SELPHY CP1500
Wireless compact photo printer — print 4x6 photos from your phone.
Matte Inkjet Art Paper
Matte heavy-weight paper for art prints & graphic works.
SanDisk Extreme SSD 1TB
Rugged portable SSD — fast backup for photos, videos, and large files.
Etekcity 24" 5-in-1 Reflector
Ultra-lightweight 8oz reflector — easy to carry on location shoots.
As an Amazon Associate, we earn from qualifying purchases.