✂️ Cắt Ảnh
Cắt ảnh với tỷ lệ có sẵn hoặc tự do. 100% trong trình duyệt.
✨ See what this tool can do
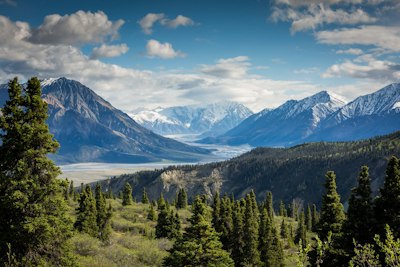
Before
✂️
After — processed
Cách Sử Dụng
1
Tải Lên
Kéo thả ảnh của bạn.
2
Điều Chỉnh
Kéo các điểm để chọn vùng.
3
Tỷ Lệ
Chọn tỷ lệ có sẵn hoặc tự do.
4
Áp Dụng
Nhấp để cắt và tải xuống.
Detailed User Guide
Step 1: Upload Your Image
Upload a JPG, PNG, or WebP image. The full image appears in the workspace with a dashed crop overlay.
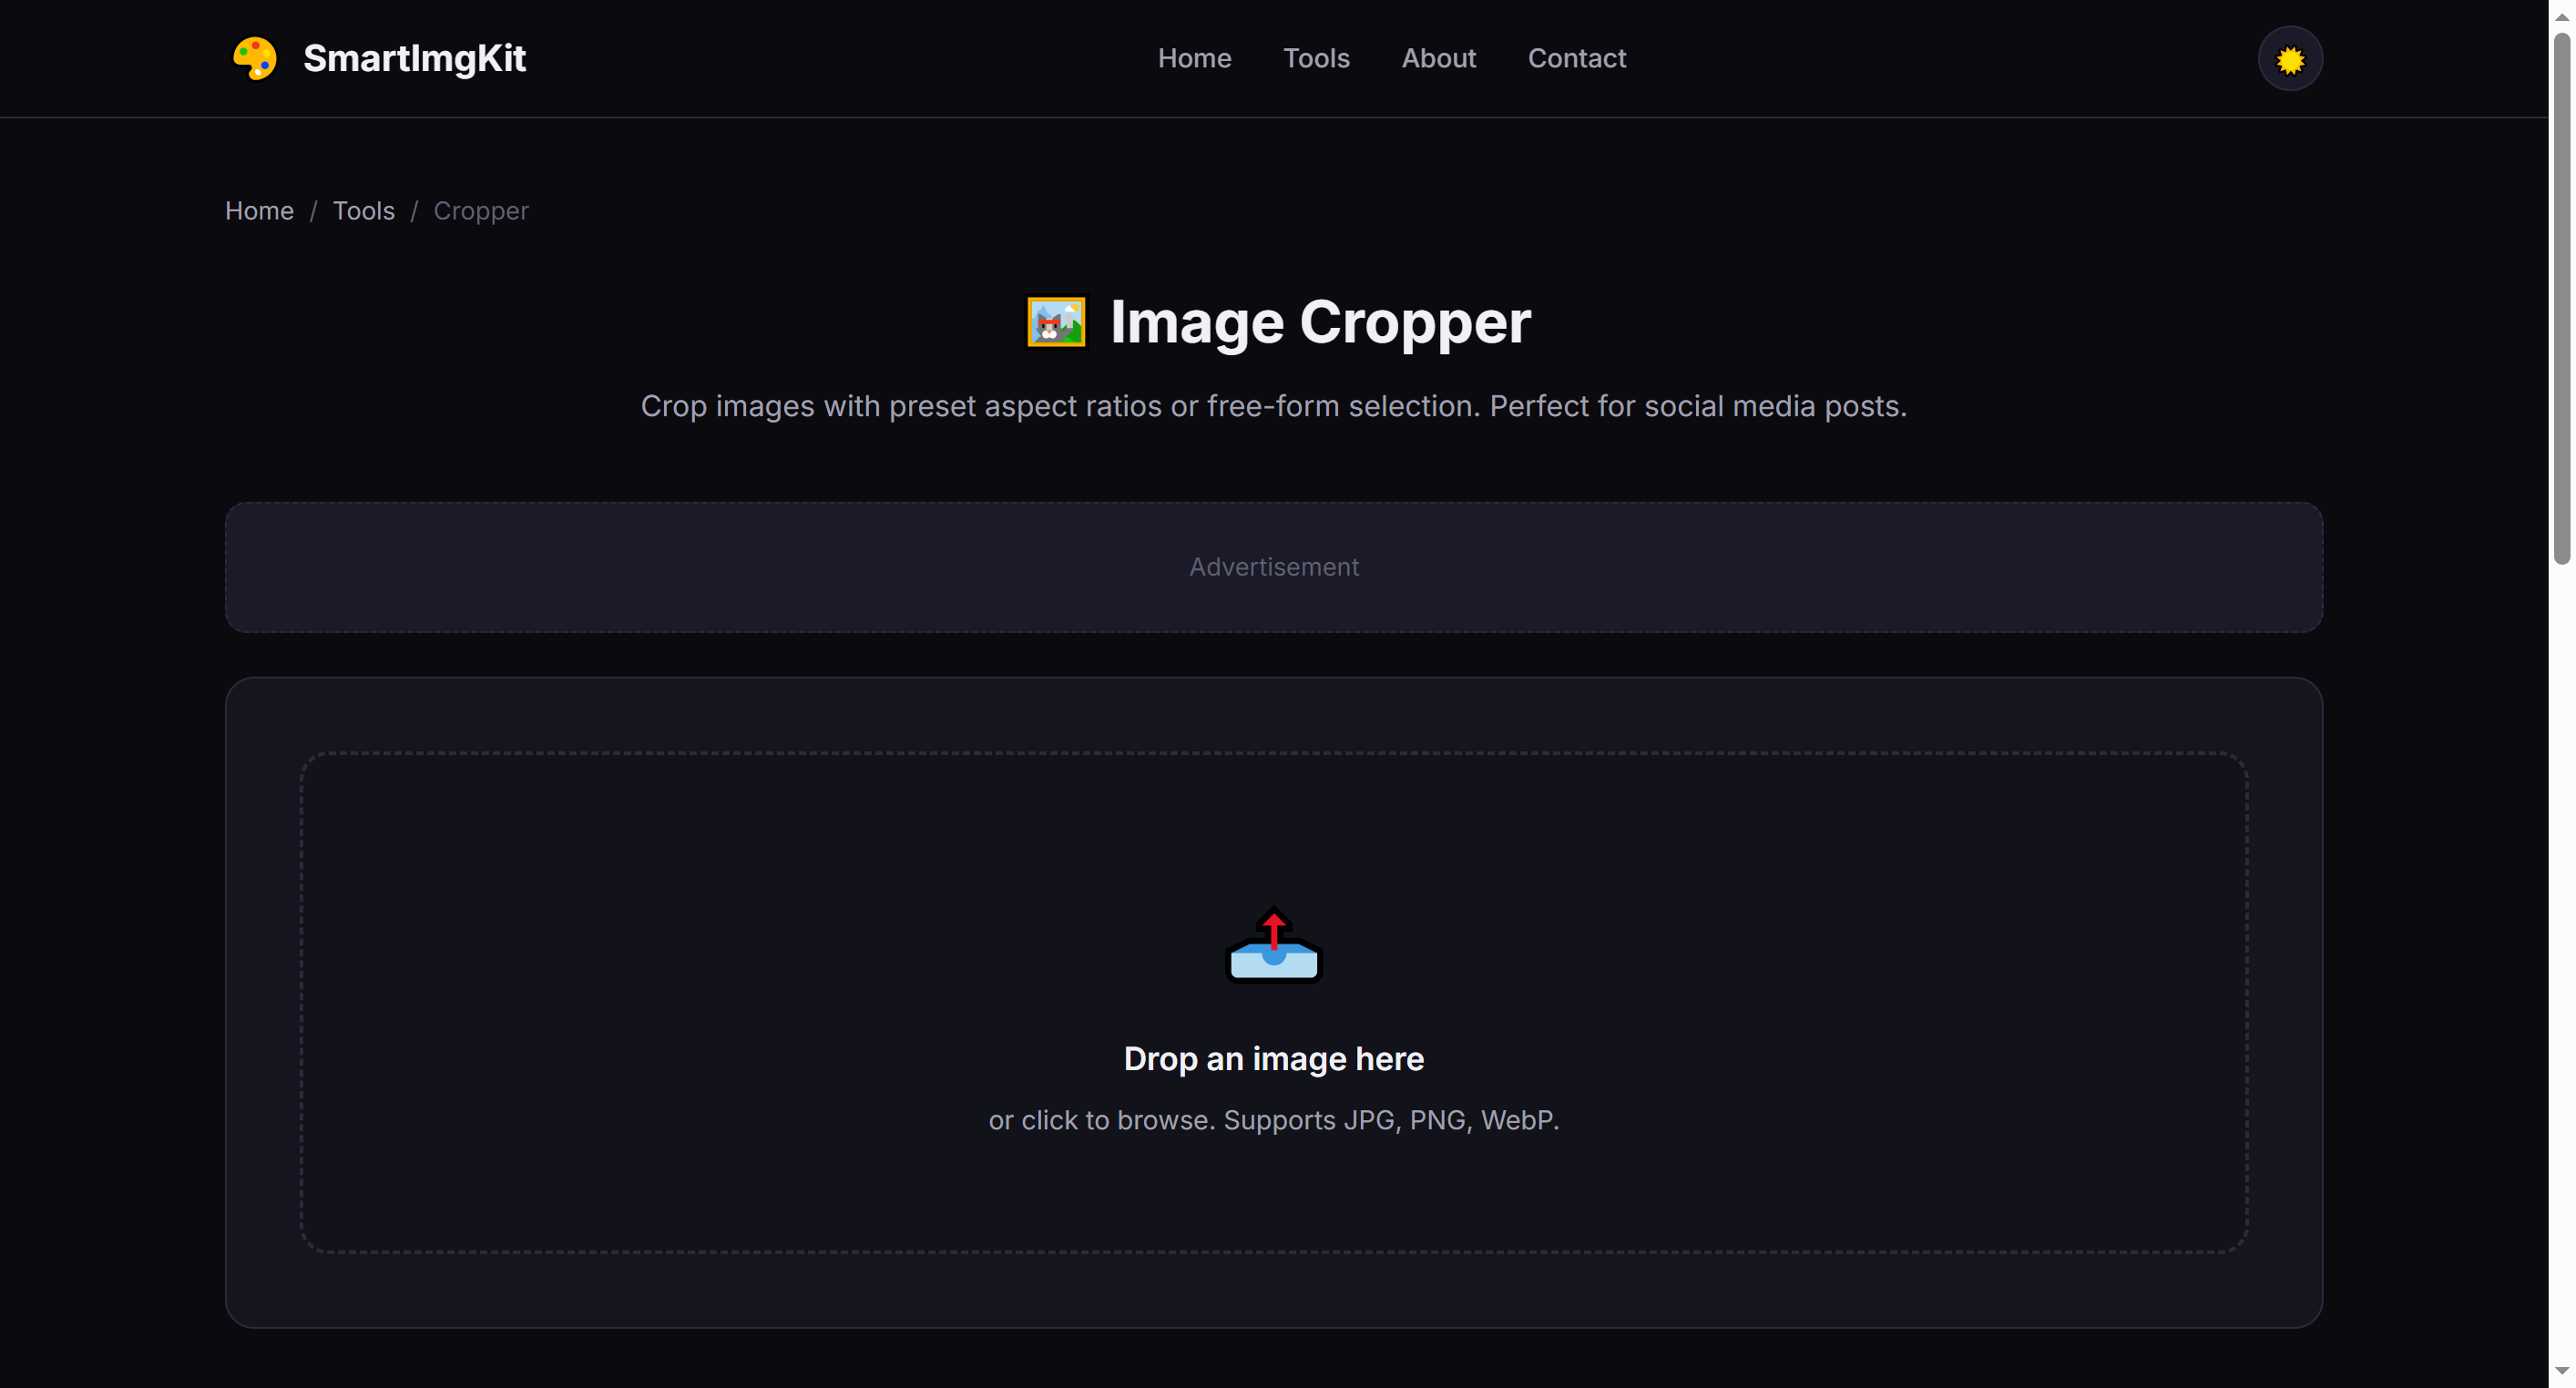
The cropper workspace — the dashed overlay shows the area to be kept
Step 2: Adjust the Crop Area
You can interact with the crop overlay in two ways:
- Move: Click and drag anywhere inside the dashed overlay to reposition it over your desired area
- Resize: Drag the corner handles (small circles at each corner) to adjust the crop dimensions
- Aspect ratio presets: Use the dropdown to lock to common ratios like 1:1 (Instagram), 16:9 (widescreen), or 9:16 (Stories)
Tip: When a preset ratio is selected, resizing one corner automatically adjusts the other dimension to maintain the ratio.
Step 3: Crop & Download
Click "Crop" to apply. The image is cropped to your selection and the overlay disappears. Click "Download" to save as a PNG.
Best Use Cases
- Social media cropping — Use preset ratios to match platform requirements exactly
- Photo framing — Remove unwanted edges or improve composition (rule of thirds)
- Thumbnail creation — Crop to the most visually interesting part of an image
- Uniform image sets — Apply the same aspect ratio to a series of photos for consistency
Pro Tips
- Cropping never reduces the quality of the remaining pixels — it simply removes unwanted areas
- For portraits, place the subject's eyes along the top third line for pleasing composition
- The 1:1 preset is perfect for Instagram posts; 9:16 for Stories and Reels
- After cropping, you can use the Resizer tool to adjust to exact pixel dimensions
Câu Hỏi Thường Gặp
1:1, 4:3, 16:9, 3:2 và cắt tự do.
Có thể đặt lại trước khi xác nhận.
JPG, PNG và WebP.