📐 Đổi Kích Thước Ảnh
Đổi kích thước ảnh theo kích thước chính xác. Giữ tỷ lệ hoặc tùy chỉnh.
✨ See what this tool can do
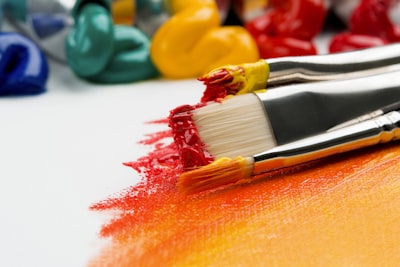
Before
📐
After — processed
×
100%
Cách Sử Dụng
1
Tải Lên
Kéo thả ảnh của bạn.
2
Đặt Kích Thước
Nhập chiều rộng và chiều cao mong muốn.
3
Điều Chỉnh
Bật "Giữ tỷ lệ" nếu cần.
4
Tải Xuống
Lưu ảnh đã đổi kích thước.
Detailed User Guide
Step 1: Upload Your Image
Upload a JPG, PNG, or WebP image. The tool automatically reads the original dimensions and populates the width and height fields.
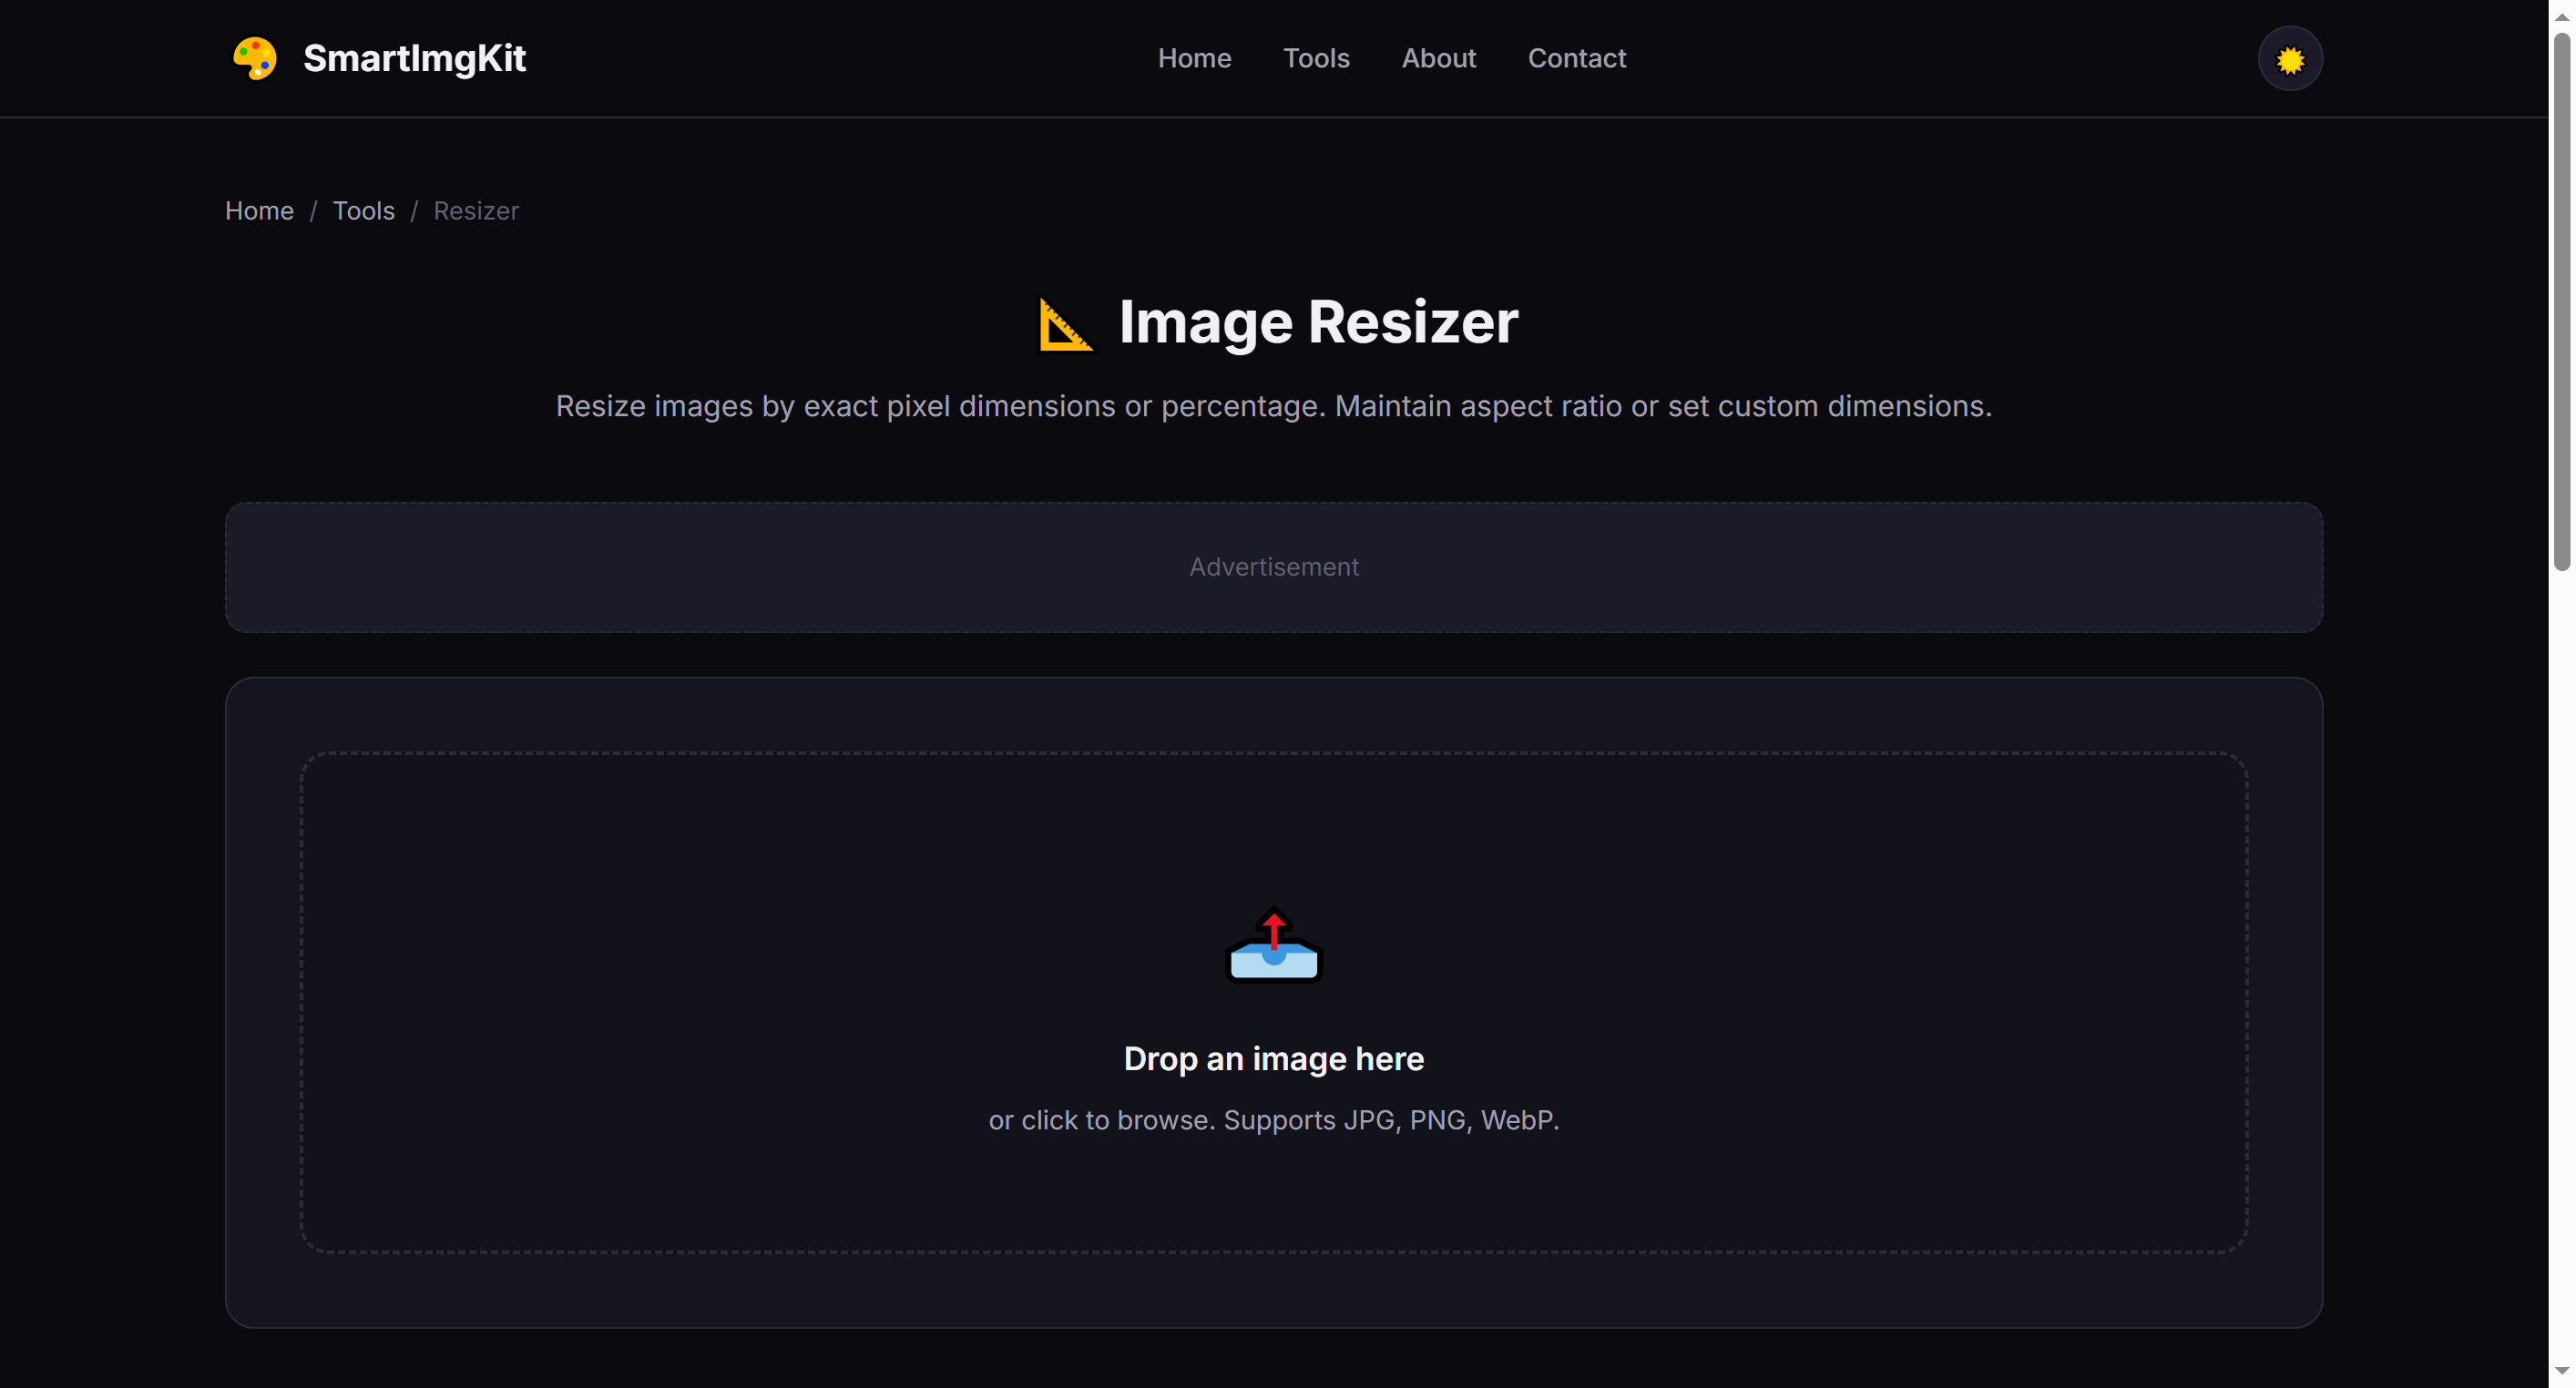
The resizer interface — original dimensions are auto-filled after upload
Step 2: Set New Dimensions
You have two ways to resize:
- Exact pixels: Enter width and height in pixels. Check "Keep aspect ratio" to automatically maintain proportions when changing one dimension.
- Percentage: Use the slider to scale by percentage (10%–200%). This is the quickest way to make an image half-size or double-size.
Tip: Keep "Keep aspect ratio" checked to prevent distortion. Only uncheck it if you intentionally want to stretch or squish the image.
Step 3: Resize & Download
Click "Resize" to process. The preview updates to show the new dimensions. Click "Download" to save the resized image with -resized appended to the filename.
Common Social Media Sizes
- Instagram Post — 1080 × 1080 px (square) or 1080 × 1350 px (portrait)
- Instagram Story / Reel — 1080 × 1920 px (9:16)
- Twitter / X Header — 1500 × 500 px
- Facebook Cover — 820 × 312 px
- LinkedIn Banner — 1584 × 396 px
- YouTube Thumbnail — 1280 × 720 px
Pro Tips
- Enlarging an image beyond its original size reduces sharpness — use AI upscalers for better results
- Reducing size generally maintains excellent quality thanks to high-quality canvas scaling
- Use the percentage slider for quick batch-like scaling (50% = half dimensions, 25% = quarter area)
- For print, aim for 300 DPI. A 1200 × 1800 px image at 300 DPI prints at 4 × 6 inches
Câu Hỏi Thường Gặp
Có, bật tùy chọn "Giữ tỷ lệ".
JPG, PNG và WebP.
Có, cho mạng xã hội và kích thước phổ biến.