💧 Thêm Watermark
Thêm watermark văn bản hoặc hình ảnh. Kiểm soát độ mờ và vị trí.
🖼️ Try with a sample image
Cách Sử Dụng
1
Tải Lên
Kéo thả ảnh của bạn.
2
Loại Watermark
Chọn văn bản hoặc hình ảnh.
3
Tùy Chỉnh
Đặt độ mờ, vị trí và kích thước.
4
Tải Xuống
Lưu ảnh có watermark.
Detailed User Guide
Step 1: Upload Your Image
Upload the image you want to protect. The image appears on the canvas workspace.
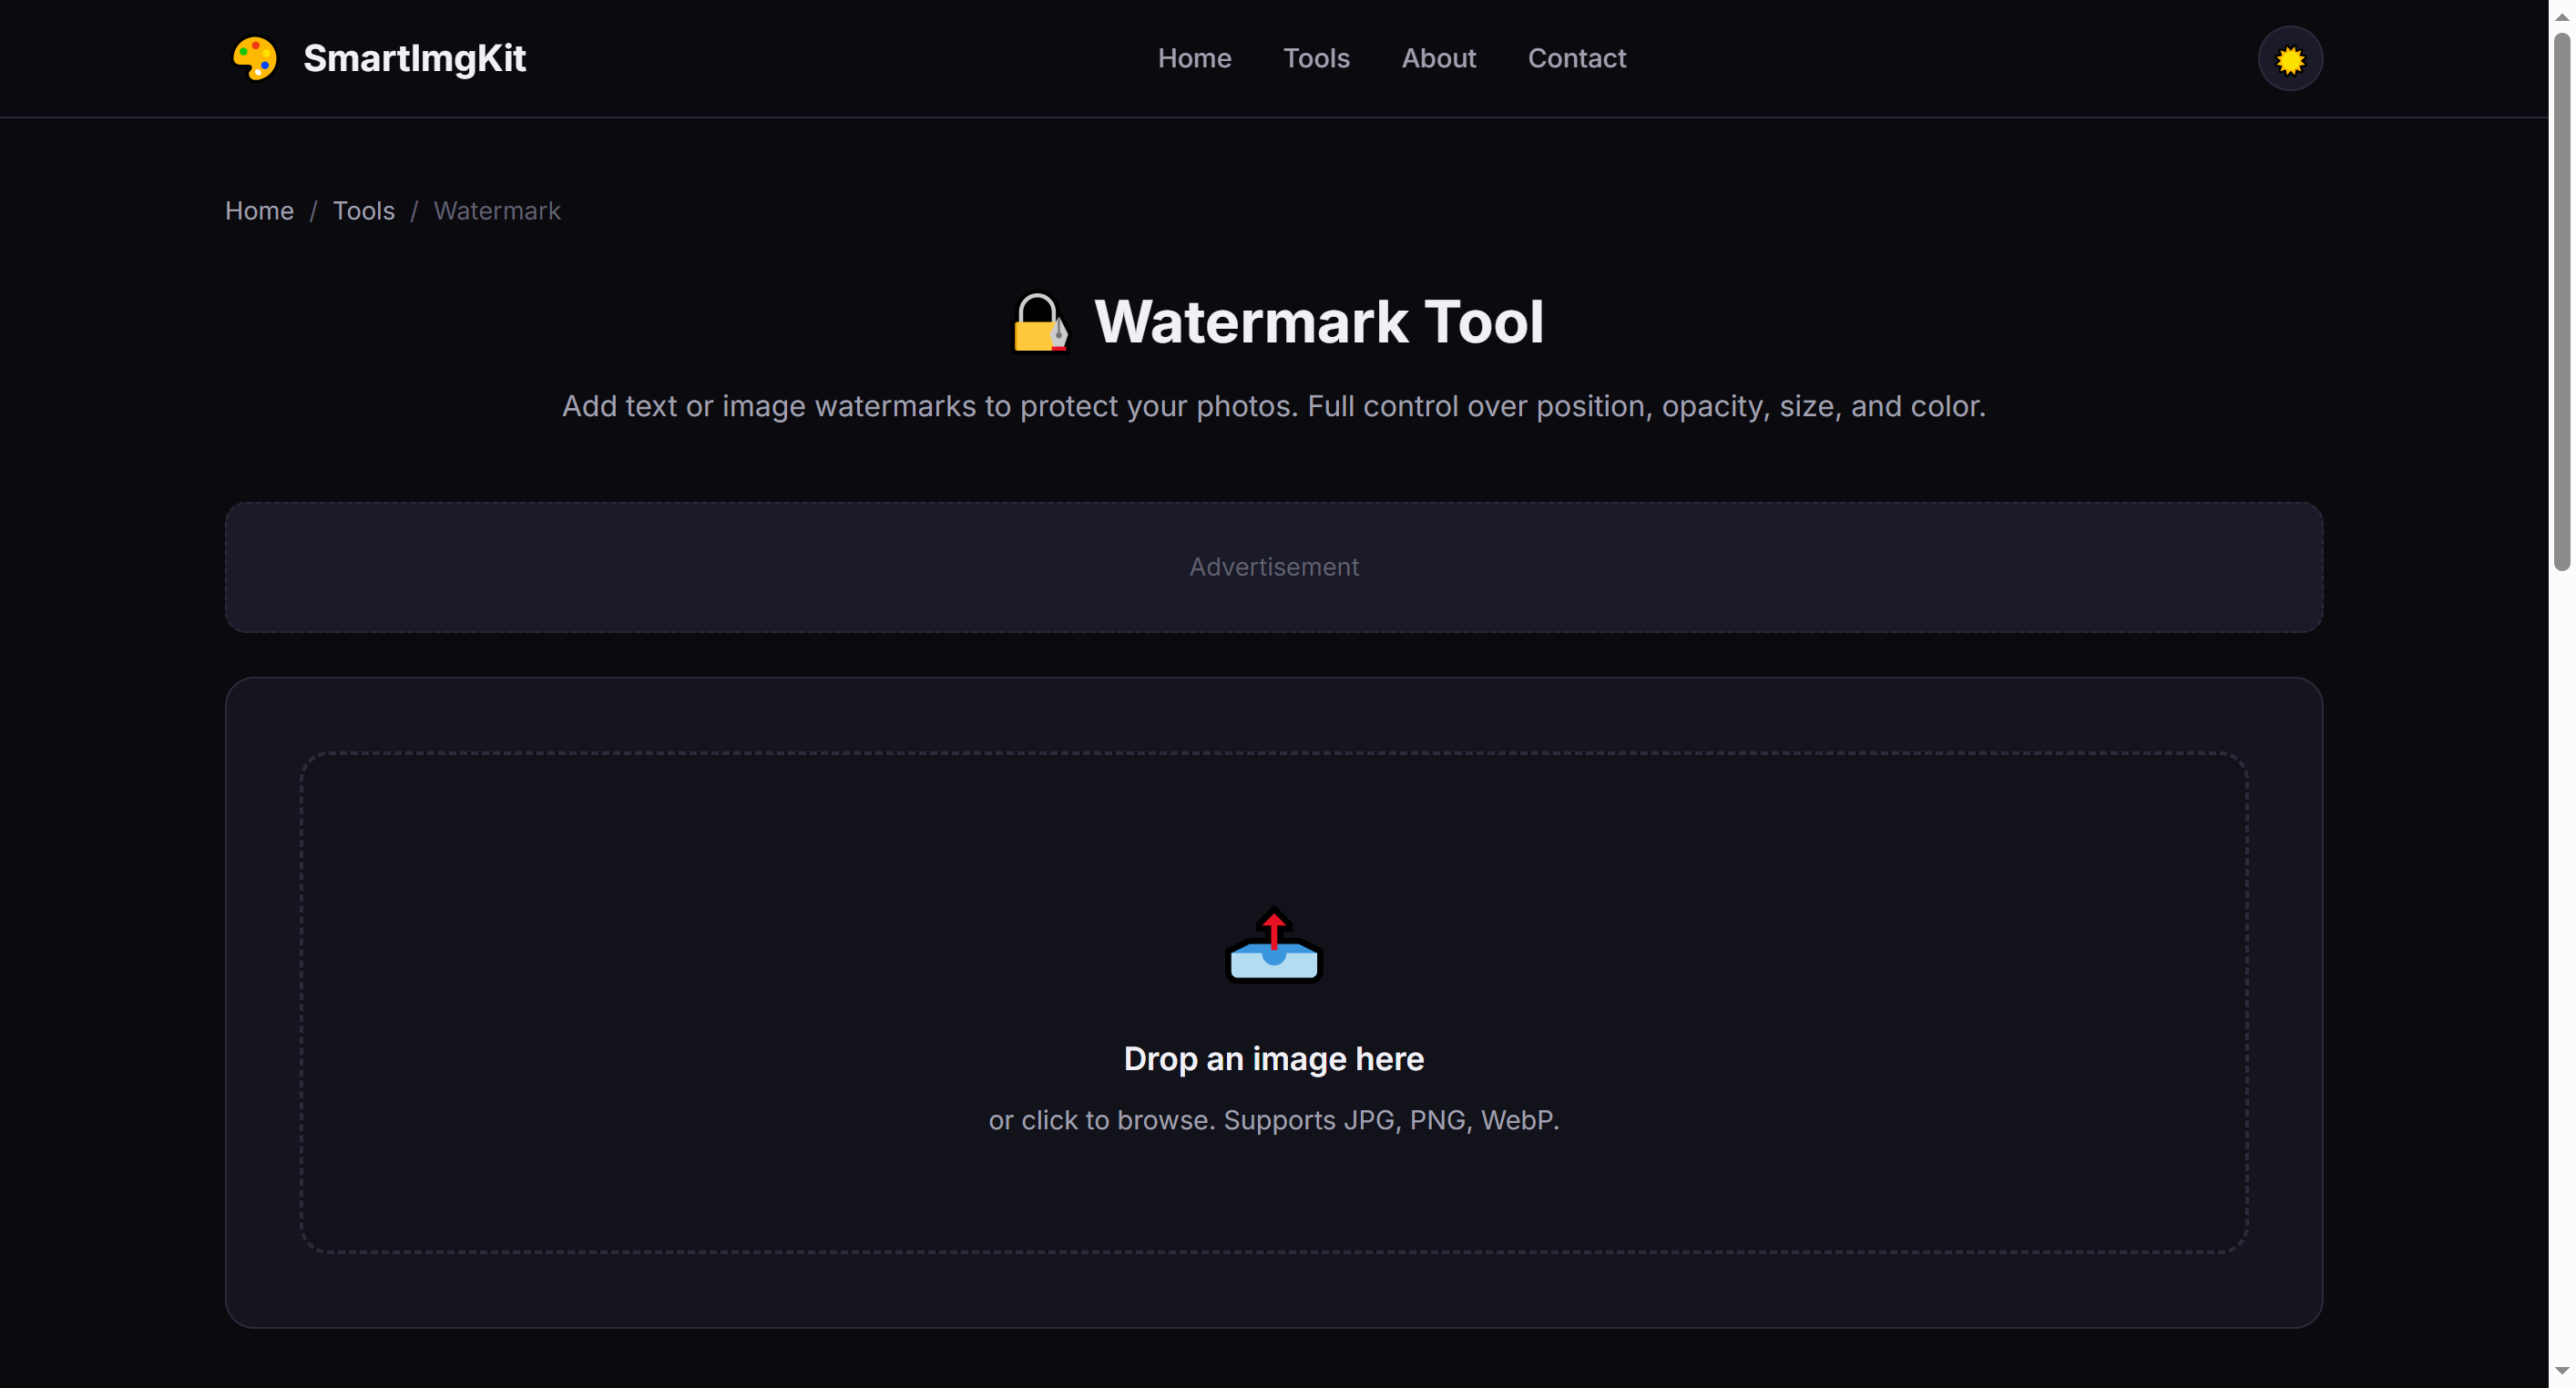
The watermark tool — choose between text or image watermark modes
Step 2: Choose Watermark Type
Toggle between two modes:
- Text Watermark: Enter your text (e.g., brand name, copyright notice). Customize color, font size, and opacity.
- Image Watermark: Upload a logo or signature image (PNG with transparency works best). Adjust opacity to blend naturally.
Step 3: Position & Apply
Select a position from the dropdown: Bottom Right (most common), Bottom Left, Top Right, Top Left, or Center. Then click "Apply Watermark" to render it onto the image. Click "Download" to save.
Tip: For subtle protection, use 30-50% opacity. For stronger branding, use 60-80% opacity with a contrasting color.
Best Use Cases
- Photographer portfolios — Protect images shared online from unauthorized use
- Brand marketing — Add logos to social media graphics and promotional images
- Document security — Mark confidential images with "Draft" or company name
- Social media content — Consistent branding across all shared visuals
Pro Tips
- White or light gray text with 40-50% opacity works well on most images without obscuring content
- For image watermarks, use a PNG with transparent background for clean overlay
- Place watermarks in corners to minimize interference with the main image content
- Consider using your website URL as the text — it promotes your brand even if the image is shared
Câu Hỏi Thường Gặp
Có, tải lên logo hoặc bất kỳ ảnh nào.
Có, dùng thanh trượt độ mờ.
Được nhúng vào ảnh tải xuống nhưng có thể bị che.