🎚️ Image Adjustment Tool
Adjust brightness, contrast, and saturation with real-time preview. All processing happens in your browser.
✨ See what this tool can do
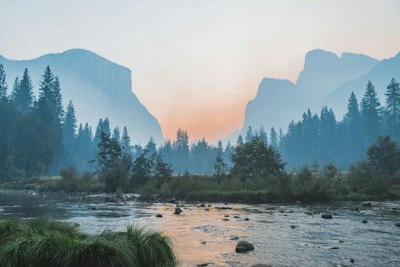
Gốc
🎚️
After — adjusted
How to Use
1
Upload
Select an image from your device or try with a sample image.
2
Adjust
Use the sliders to adjust brightness, contrast, and saturation.
3
Download
Click Apply to process, then Download to save the result.
Detailed User Guide
Step 1: Upload Your Image
Click the dropzone or drag and drop an image file (JPG, PNG, or WebP). The original image will be displayed in the preview area, and you can start adjusting immediately.
Step 2: Adjust Brightness, Contrast & Saturation
Use the three sliders to fine-tune your image:
- Brightness (0%–200%) — Darken or brighten the image. 100% is the original brightness.
- Contrast (0%–200%) — Reduce or increase color contrast. 100% is the original contrast.
- Saturation (0%–300%) — Desaturate (grayscale at 0%) or boost colors. 100% is the original saturation.
Tip: Click "Apply Adjustments" after setting the sliders. The preview updates so you can see the exact effect before downloading.
Step 3: Apply & Download
Click "Apply Adjustments" to render the final result with all three adjustments combined, then click "Download" to save the adjusted image as a JPG file.
Best Use Cases
- Fix underexposed photos — Increase brightness to recover detail in dark images
- Make colors pop — Boost saturation for social media posts
- Fix washed-out images — Increase contrast to add depth
- Create B&W effects — Reduce saturation to 0% for grayscale
Pro Tips
- For portrait photos, avoid pushing brightness above 150% — skin tones can look unnatural
- Combine slight contrast boost (+20%) with slight saturation boost (+15%) for a quick "vibrant" look
- If the image looks too flat after reducing contrast, try increasing saturation slightly
- For printing, keep brightness at or below 110% to avoid washed-out prints
Frequently Asked Questions
Input: JPG, PNG, WebP, AVIF, and most browser-supported formats. Output: JPG (for broad compatibility).
The adjustment itself is lossless (pixel manipulation via Canvas filter). However, saving as JPG applies slight lossy compression. For best quality, download once and avoid re-editing the downloaded file.
Currently one image at a time. Click "New Image" to process another image after downloading.
The preview uses a data URL for instant display. The downloaded JPG is re-encoded at 92% quality for a good balance of file size and visual quality. Minor color shift is normal when converting to JPG.