🎨 图像调整
Adjust brightness, contrast, and saturation with real-time preview. All processing happens in your browser.
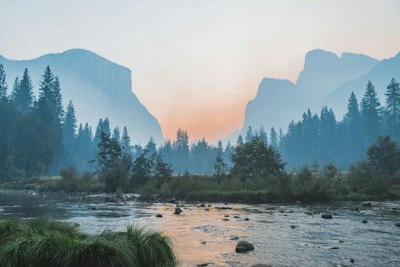
图片调色:调节亮度、对比度和饱和度
图片调色让你调节亮度、对比度和饱和度。全部在浏览器本地处理,无需上传、无需注册。
修正欠曝暗照
修正欠曝暗照。这是人们使用图片调色最常见的理由之一——几秒内即可在浏览器中完成。
提亮褪色色彩
提亮褪色色彩。这是人们使用图片调色最常见的理由之一——几秒内即可在浏览器中完成。
为商品照打造均衡外观
为商品照打造均衡外观。这是人们使用图片调色最常见的理由之一——几秒内即可在浏览器中完成。
图片调色所需的一切功能
让图片调色快速、私密且免费的强大功能。
实时预览
每次调整下载前即时可见。
精细控制
用精确滑块调节强度、颜色和位置。
无损编辑
原图绝不会被修改——下载的是新副本。
100% 隐私
全部编辑在浏览器本地完成。
永久免费
无需注册、无水印、无限制。
即时出图
编辑即时生效——无需渲染队列。
How to Use
Upload
Select an image from your device or try with a sample image.
Adjust
Use the sliders to adjust brightness, contrast, and saturation.
Download
Click Apply to process, then Download to save the result.
Detailed User Guide
Step 1: Upload Your Image
Click the dropzone or drag and drop an image file (JPG, PNG, or WebP). The original image will be displayed in the preview area, and you can start adjusting immediately.
Step 2: Adjust Brightness, Contrast & Saturation
Use the three sliders to fine-tune your image:
- Brightness (0%–200%) — Darken or brighten the image. 100% is the original brightness.
- Contrast (0%–200%) — Reduce or increase color contrast. 100% is the original contrast.
- Saturation (0%–300%) — Desaturate (grayscale at 0%) or boost colors. 100% is the original saturation.
Step 3: Apply & Download
Click "Apply Adjustments" to render the final result with all three adjustments combined, then click "Download" to save the adjusted image as a JPG file.
Best Use Cases
- Fix underexposed photos — Increase brightness to recover detail in dark images
- Make colors pop — Boost saturation for social media posts
- Fix washed-out images — Increase contrast to add depth
- Create B&W effects — Reduce saturation to 0% for grayscale
Pro Tips
- For portrait photos, avoid pushing brightness above 150% — skin tones can look unnatural
- Combine slight contrast boost (+20%) with slight saturation boost (+15%) for a quick "vibrant" look
- If the image looks too flat after reducing contrast, try increasing saturation slightly
- For printing, keep brightness at or below 110% to avoid washed-out prints